Thursday, January 29, 2015

So Shapely Challenge

This week's challenge at DRS Designs is "So Shapely." You have to use at least 2 different shapes on your card. My card has ovals and rectangles.


I created the background by stamping the Interlocking Hearts Background in VersaMark ink on watercolor paper, embossing with detailed white EP and then applying gelatos in a couple of shades of red. I cut the panel into thirds and attached them to the black card base. The sentiment was stamped in black ink, die cut and layered on black. Some black gingham ribbon and black enamel dots complete the look.

You can check out details for this challenge here. We'd love to see what you create!

Thanks for stopping by.
shelia

Tuesday, January 27, 2015

Tuesday Morning Sketch 285

Tuesday Morning Sketch 285


I created this fairly simple Valentine card using this week's sketch at Tuesday Morning Sketches.


First the Valentine Tree and Happy Valentine's Day greeting were stamped with Memento Cocoa ink on white CS, colored with Copics, die cut and sponged with Real Red ink while still in the die.  The red panel was embossed with a Spellbinders EF and layered on white CS. Red bakers twine was added before attaching everything to the Chocolate Chip card base. The red heart buttons were glued onto white punched hearts and then attached to the card so they'd show up better. I should have checked my stash of heart buttons before putting this together. I thought I had some white heart buttons, but no...  Anyway, I like the look of these red hearts on the white paper hearts.

Thanks for stopping by!
shelia

Monday, January 26, 2015

cupcake Inspiration

Happy Monday!  This week DRS Designs is a proud sponsor of Cupcake Inspirations. Here's the inspiration photo.


And here's the card I created.


I started by die cutting the lacy curve with a nestie, then I added the gingham ribbon, button and bakers twine. Inside I added a red panel so the red would show through the die cut part.  The Sweet Valentine Sentiment was stamped in black ink, die cut and then some real red ink was sponged around the edges. The cupcake image was stamped with Memento Black ink on white cs, colored with Copics and fussy cut. I stamped the image a second time on white CS and stamped the Polka dot Background on the cupcake liner, then fussy cut it out, added it to the cupcake image and attached it to the red heart.

Hope you can join in the challenge at Cupcake Inspiration. You could win some awesome new stamps!  You can also join in this week's challenge here at DRS Designs to use the word love and or hearts on your card. So there's two ways to win some new stamps this week from DRS Designs. Looking forward to seeing what you create!

Thanks for stopping by.
shelia

Thursday, January 22, 2015

DRS Designs Weekly Challenge

This week the challenge at DRS designs is to use hearts and or the word Love on your card, very appropriate for getting those Valentines created!!  Here's my card for the challenge.

I started with the red panel and stamped the Heart Drops in real red ink, then attached it to the white card base. I used a Darice EF to emboss the bottom of the card with hearts. The Love Meter was stamped in Memento Black ink on white CS, colored with Copics, die cut and attached to a red circle, then I cut the bottom off so it would align with the base of the card. The Fill Up on Love greeting was stamped with black ink, die cut and then real red ink was sponged on while still in the die. A swirly white heart button was added to the heart. Some red gingham ribbon finishes it off.

Hope you can find some time to join in the fun. You could win some new stamps!! Who doesn't like new stamps?!

Thanks for stopping by.

shelia

Wednesday, January 21, 2015

Merry Monday Challenge

This week the challenge at Merry Monday is to use a house on your card. I used DRS Designs Log Cabin, one of my favorite images, for my house. I also used today's sketch design at Split Coast Stampers.


After stamping the Log Cabin image with Memento Black ink, I colored it with Copics and then die cut it with a Nestie oval. I sprayed some Lunimarte Shimmering Mist on an acrylic block and used a paint brush to add some shimmer to the roof tops, trees and snow lines. The Christmas Blessings was stamped onto the white panel before embossing it with a Darice snowflake folder. I sprayed this panel directly with the Shimmering Mist. It doesn't show up too well in the pic, but it is pretty sparkly. Some lace ribbon was added behind the main image.

Thanks for stopping by.

shelia

Friday, January 16, 2015

DRS Desigsn' weekly challenge


This week the challenge at DRS Designs is a color challenge and the colors are perfect for a Valentine or Anniversary card. Here's the color inspiration.


And here's the card I created.


I started by stamping the Heart Stem Rose in Memento Black ink on white CS, colored it with Copics and then used a nestie die to cut it out. It's layered on shades of pink CS also die cut with the same nestie set. The only embellishment are the tiny half pearls on the four corners of the smallest light pink panel. This will be an anniversary card for my parents who will be celebrating their 64th year together next month!

You can check out the challenge details here. Thanks for stopping by.

shelia

Monday, January 12, 2015

So Sweet!

Today I have a Valentine card to share with you that I created for one of my granddaughters. It also works for this week's challenge to use something sweet on your card. You still have time to play along. You could win some fabulous stamps too!  Here's my card.


First I stamped the sweet cupcake in Memento Black ink on white CS, colored it with Copics, added some sparkle with a Sakura Star Dust pen and then die cut it with a nestie heart die. I sponged some Pretty in Pink ink around the edges while it was still in the die. The You're so Sweet sentiment was stamped in black ink and cut with a banner die. The heart drops were stamped with VersaMark ink on the red panel. The bottom part was embossed with a Darice heart folder. I added the white lace ribbon before attaching the heart and sentiment to the panel.

Here's a look at the inside.


I purchased the honeycomb heart a couple of years ago on sale after Valentine's Day. It's been hidden in a basket in my craft room so I forgot all about it. When I rediscovered it this weekend, I had to use it. So it's on the inside along with the sentiment. The honeycomb heart makes the card extra thick, so this will go in a package along with some candy hugs and kisses.

Thanks for stopping by today. Hope you can join in the sweet fun this week!!

shelia

Thursday, January 8, 2015

Challenges

Today I have several challenge cards to share. I feel like I am just getting back into the groove after the holidays. It feels good to be stamping and creating again.

My first card is for 
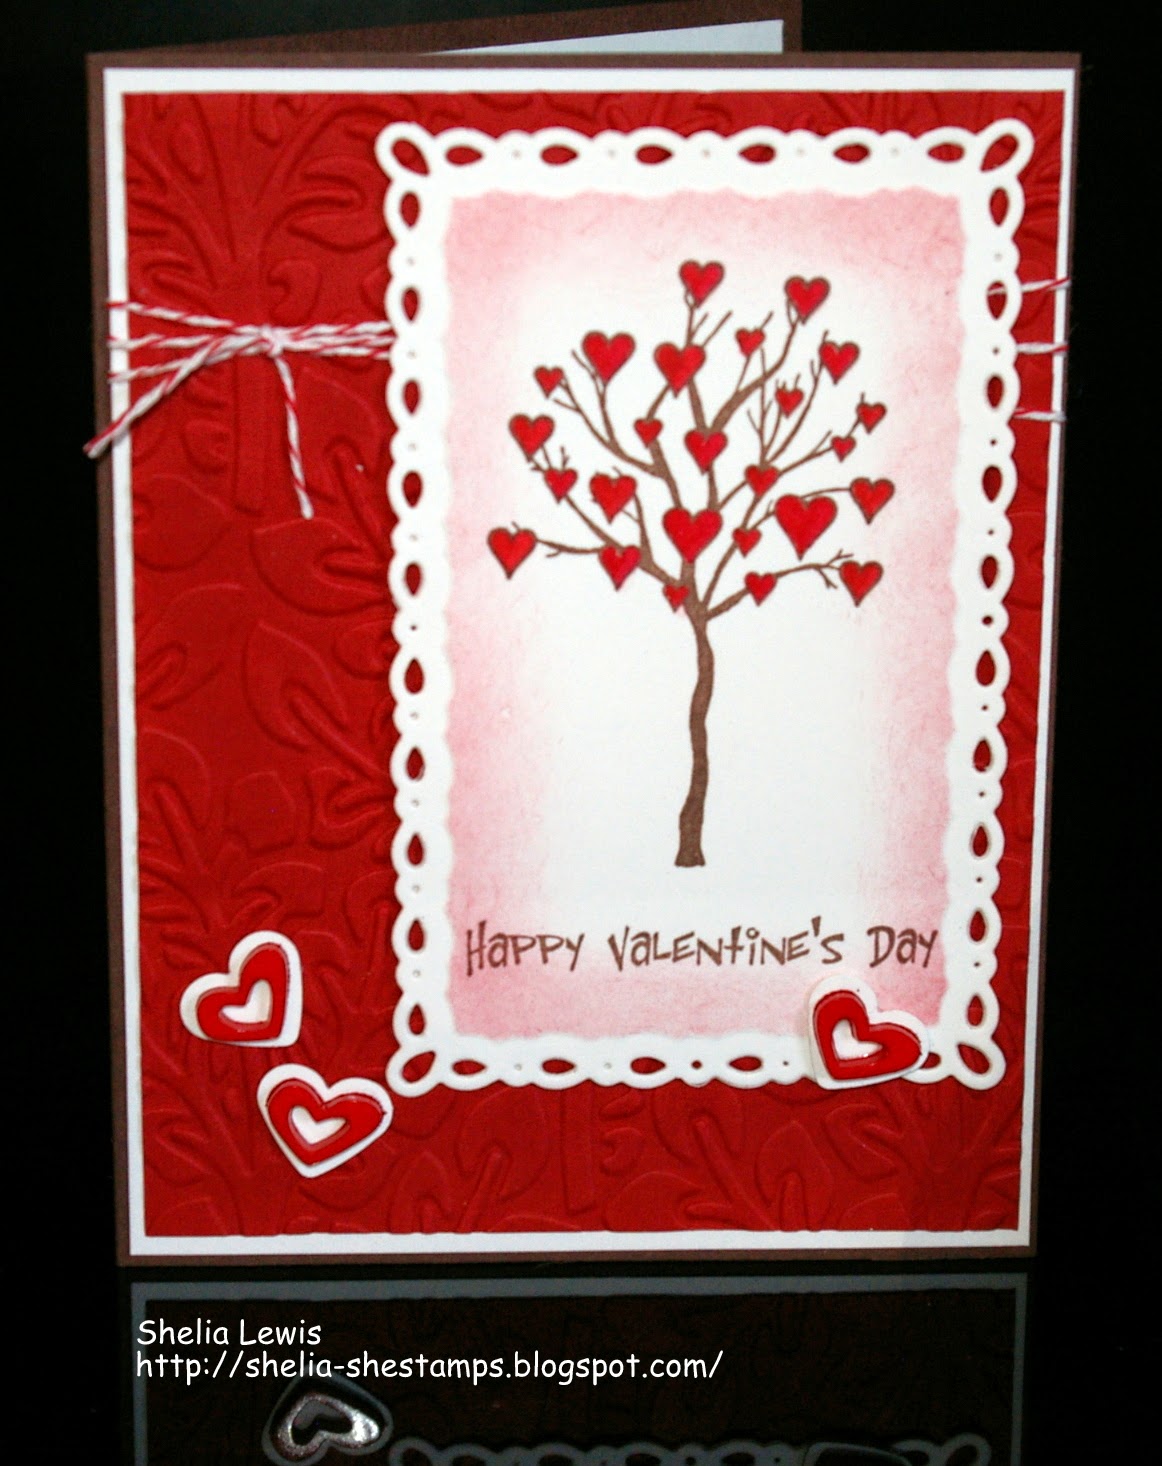
DRS Designs weekly challenge to create a "sweet" Valentine.


All stamps are DRS Designs. I hit the auto contrast button when I uploaded this card. It's not really this bright!! It's almost blinding in this pic. Yikes. I stamped the drop hearts background in Pretty in Pink on pink CS and layered it on the darker pink CS that's embossed with a CB folder. The sentiment was stamped in black ink on medium pink CS, border cut and layered onto the card after attached a satin black ribbon. The kiss was stamped with VersaMark ink, embossed with silver embossing powder, fussy cut and attached to heart circle. The hugs and kisses are part of another sentiment. Some heart shaped rhinestones finish it off.

My next card is also a Valentine card. This is for the Send a Smile for Kids Challenge to create a valentine for a child. I used DRS Designs happy hearts image. These hearts just make me smile!


After stamping the hearts on white CS, the panel was embossed with a Darice hearts folder. The image was stamped, colored and fussy cut a second time. After adding the pink ribbon the three large hearts were added to the panel. The Able sentiment was stamped, colored with Copics, then layered on some pink CS. A darker piece was border punched and added underneath. Some tiny pink half pearls were added to complete the look. I think this will be perfect for a little girl.

My last card is for this weeks challenge at Tuesday Morning Sketches. It's also for the monthly Christmas Card challenge at Split Coast Stampers, to use stars on your card.


I started by stamping the large star in Silver ink on Bashful Blue CS, heat embossing it with silver powder and fussy cutting it. The top layer of blue CS was embossed with the CB Swirls folder. The sentiment was stamped with the same silver ink, embossed and die cut. The small silver and blue stars were punched and added with glue dots. Some navy ribbon and rhinestones finish it off. This is my first Christmas card for my 2015 stash! I try to make 5 each month, so one down and 4 to go. I don't always reach my goal, so we shall see.

Thanks for stopping by. Be sure to check out these challenges. You could be the winner of some awesome DRS Designs stamps!

blessings,
shelia


Monday, January 5, 2015

Happy Valentine's Day


It's time to get serious about getting those Valentine cards created and DRS Designs has some new stamps to help get you inspired!  My card today features two of the just released Valentine stamps:
the Interlocking Hearts (247F) and the Full of Love greeting (273F). Both were stamped onto the white CS with black ink. After die cutting the panel, I used a glue pen to add glue and then rose colored glitter to the hearts. For the background, I used some narrow double sided tape and then added the glitter to the tape. And everywhere else, I might add. I really can make a mess when I get the glitter out!! A sheer pink bow finishes it off. I really like the sparkle on this one, even if there's glitter all over my house. :-)

Be sure to stop by the on line store to see the newest releases.

Thanks for stopping by.
shelia